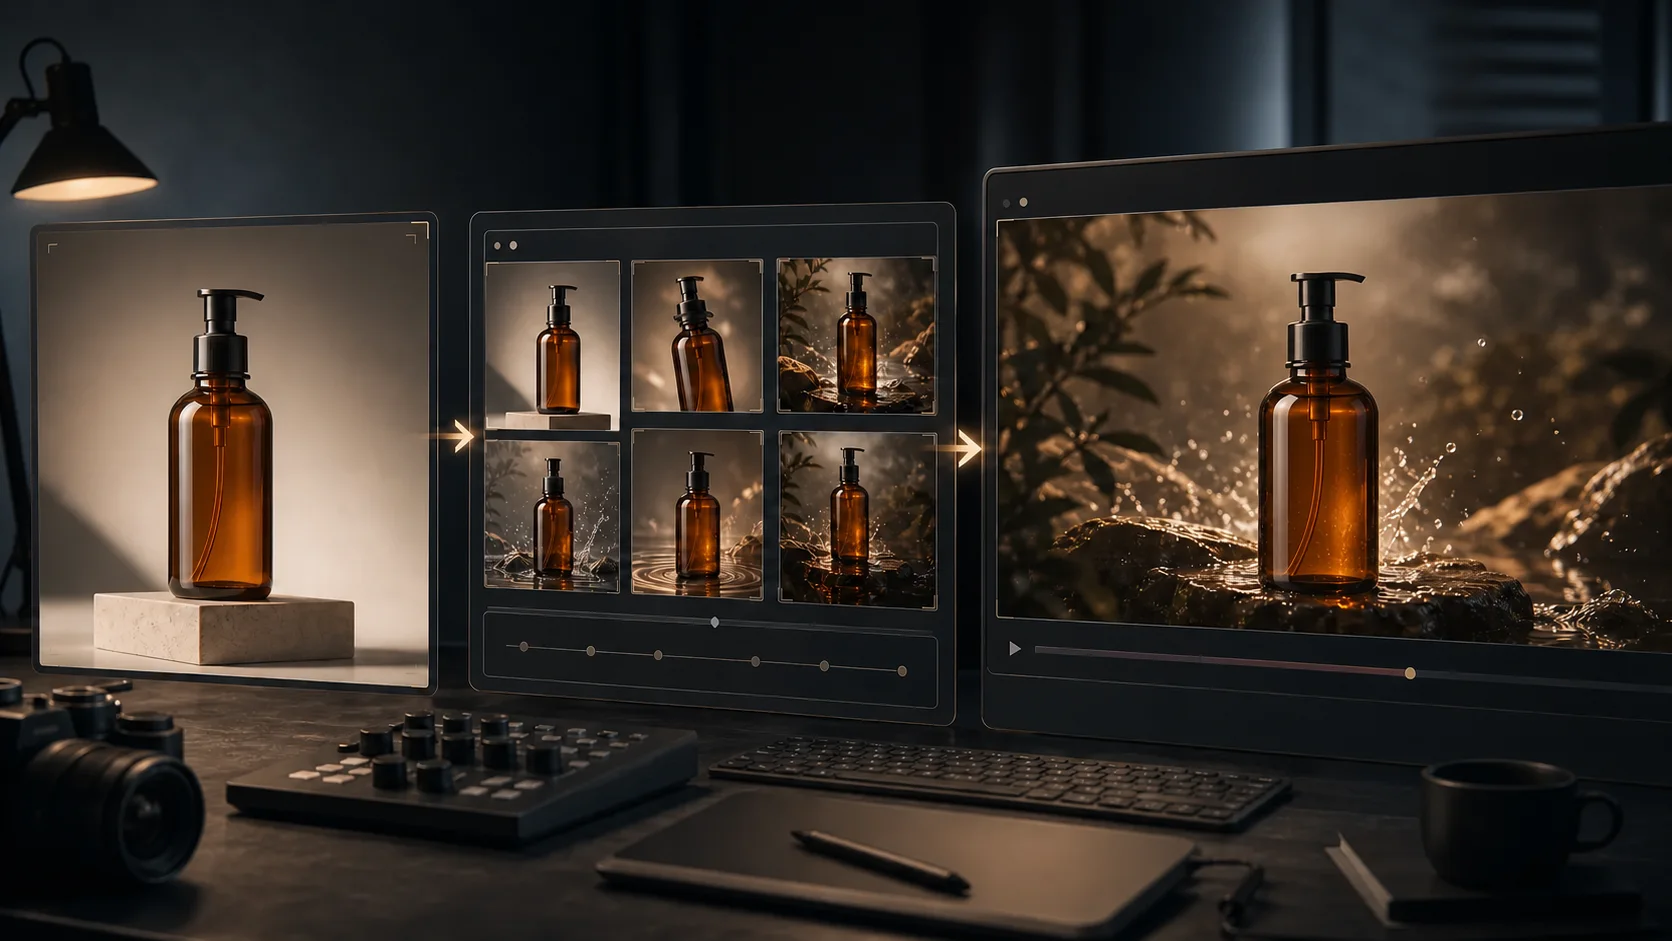
One clean product photo can become a useful short video, but generation is only one stage. A repeatable workflow starts by auditing the source image and finishes only after the exported file has been reviewed. Skipping a failed stage creates expensive problems later: a weak silhouette will not be rescued by a longer prompt, and a deformed product will not be repaired by a higher export bitrate.
This six-step process covers source preparation, destination framing, motion planning, prompt construction, controlled generation, frame-level review, and delivery.
The Workflow at a Glance

| Stage | Decision | Deliverable before continuing |
|---|---|---|
| 1. Source preparation | Is the product clear enough to reconstruct? | One clean, correctly framed master image |
| 2. Motion planning | What single change should happen? | A one-sentence shot brief |
| 3. Prompting | What may move, and what must remain fixed? | A short motion prompt with preserve clauses |
| 4. Generation | What is the cheapest useful test? | One short draft in the target aspect ratio |
| 5. Review | Does identity hold for the full clip? | Pass/fail notes with defect timestamps |
| 6. Export | Where will the clip be published? | A clean master and platform-ready copies |
The rule is sequential: do not continue when the current deliverable fails. Fixing the source is cheaper than repeating generations, and repairing the shot brief is cheaper than polishing a clip that communicates the wrong idea.
Step 1: Prepare One Strong Source Image
Start with the largest, cleanest product photograph you have permission to transform and publish. The product should occupy enough of the frame to expose important geometry while leaving visual room in the direction of planned motion.

Inspect the image at 100% zoom.
Check shape and identity
- The complete silhouette is visible and no edge is accidentally cropped.
- Distinctive closures, controls, seams, colors, and material transitions are sharp.
- Repeated elements—buttons, prongs, spokes, handles, or vents—are easy to count.
- Thin connectors and transparent parts do not disappear into the background.
- The source angle reveals enough geometry for the intended camera move.
Check labels and small detail
Small type should be legible in the master even though a generated video may not preserve exact characters. Keep an approved high-resolution label or logo file for later compositing. Do not rely on generation to reproduce legal copy, dosage, prices, or disclaimers frame after frame.
Check lighting and background
Highlights should describe glass, metal, fabric, plastic, or liquid rather than clipping into featureless white. Reflections should not resemble extra components. Remove background objects that touch the silhouette, because the model may merge them into the product during motion.
If you isolate the product or enlarge a small image, inspect the result again. Background removal can damage fine edges, and upscaling can invent label strokes or surface textures. The edited master must still represent the real product accurately.
Choose the frame for the destination
Decide the placement before generation. Cropping a horizontal result into a vertical video may remove the space required for a pan or orbit.
| Destination | Typical ratio | Source-image advice |
|---|---|---|
| Vertical social feed | 9:16 | Center the product and leave headroom for a rise or push-in |
| Square commerce feed | 1:1 | Balance negative space and avoid a wide lateral move |
| Website or landscape video | 16:9 | Leave room beside the product for an orbit, pan, or environmental reveal |
Generate in the intended shape instead of baking black bars into another aspect ratio.
Step 2: Plan One Shot, Not a Whole Commercial
A single image-to-video generation should solve one visual beat. Write a one-sentence brief:
The camera [one move] while the product [one small action], revealing [specific feature], as [light or atmosphere] changes subtly.
Example:
The camera makes a slow 30-degree orbit to the right while condensation remains attached to the bottle, revealing its side profile as a soft rim light travels across the glass.

Limit the shot to one primary camera move and one restrained subject or environmental action. An orbit, opening cap, pouring liquid, transforming background, and logo reveal in the same generation gives the model too many opportunities to alter product identity.
Choose motion according to risk
- Locked camera: Safest when label and silhouette fidelity matter most. Use a subtle light sweep, condensation, steam, or background movement.
- Slow push-in: Low-risk way to add emphasis without revealing unseen sides.
- Small orbit: Useful for shape and material, but should remain within geometry supported by the source.
- Pan or slide: Works when the source includes enough negative space along the movement path.
- Tilt or rise: Fits tall products when the complete top and bottom are available.
If a commercial needs several moves, generate separate stable shots and assemble them in editing. A sequence of controlled clips is easier to maintain than one transformation-heavy take.
Step 3: Turn the Brief into a Controlled Prompt
A good image-to-video prompt describes change rather than re-describing the entire still image. Use four parts:
- Camera: One movement, speed, direction, and range.
- Subject action: One concrete physical change.
- Preserve: The identity details that cannot change.
- Finish: Lighting, mood, duration, and end behavior.

Use this template:
[Camera movement and range].
[One restrained product or environmental action].
Preserve the exact [silhouette, dimensions, number of parts, cap/pump/controls,
material, color, label position, and defining details].
[Lighting and atmosphere]. [Duration and ending/loop instruction].
Example for a skincare bottle:
Slow 25-degree orbit to the right with no zoom or tilt. Tiny condensation droplets
remain attached while a soft highlight moves across the glass. Preserve the exact
bottle silhouette, pump height, cap shape, label position, amber color, and number
of components. Clean studio background, controlled rim light, five seconds, gentle
settle at the end.
Example for packaged food:
Locked camera with a very slow push-in only. A faint warm light passes across the
front surface while the package stays still. Preserve the exact rectangular shape,
sealed top edge, printed image placement, brand-color blocks, and all corners.
Neutral tabletop, soft contact shadow, four seconds, no rotation.
The preserve clause is a constraint, not a guarantee. Keep it focused on the few properties that establish identity. Exact copy should be composited later if commercial accuracy matters.
Step 4: Generate the Smallest Useful Test
Upload the prepared master, select the final aspect ratio, and generate one short draft. Do not begin with maximum duration or an elaborate scene. The first test should answer one question: can this source and motion plan preserve the product?

Maintain a simple log:
| Field | Record |
|---|---|
| Source | Master filename and version |
| Prompt | Exact text used |
| Settings | Model, ratio, duration, and other selected options |
| Result | Pass, revise prompt, revise source, or reject |
| Defect time | First frame or timestamp of the issue |
| Symptom | Visible description, not “looks weird” |
Change one variable between attempts. If the orbit is too large, reduce its range without also replacing the source, changing lighting, extending duration, and adding a subject action. A one-variable test tells you why the output changed.
A practical test sequence
- Run the baseline prompt and preserve it unchanged.
- If identity fails at the same point, reduce the movement range.
- If the same edge still fails, repair or simplify the source.
- If the defect moves between otherwise identical runs, regenerate once unchanged.
- Test a different model or setting only after source and motion hypotheses are recorded.
Step 5: Review the Clip in Three Passes
Watch the output at normal speed, muted, and frame by frame. Each viewing answers a different question.
Pass 1: Does the shot communicate?
Can a viewer identify the product immediately? Does motion reveal a useful material, feature, or context? Does the focal point remain clear? If not, revise the shot brief rather than polishing the render.
Pass 2: Does product identity hold?
Pause on the first, middle, and final frames. Compare them with the source:
- Silhouette and dimensions
- Cap, pump, closure, buttons, and controls
- Number of repeated parts
- Label position and color blocks
- Material, color, seams, and surface features
- Thin edges and transparent components
A two-frame deformation can still flash visibly during playback. Reject geometry changes even when most of the clip looks good.
Pass 3: Is motion physically coherent?
Check that the horizon remains stable, reflections respond to the camera, contact shadows stay connected, and background objects do not slide independently. Look for exposure pulses, crawling texture, impossible parallax, sudden speed changes, or an abrupt final frame.
| Observation | Action |
|---|---|
| Product stable; shot useful | Approve and continue to export |
| Product stable; motion too strong | Reduce range or speed and regenerate |
| Same area deforms repeatedly | Repair/simplify the source or reduce viewpoint change |
| Different random defects appear | Keep the prompt fixed and test one more generation |
| Only exact text is wrong | Use a clean plate and add text in editing |
| Surface or product shape warps | Reject and regenerate; do not hide it with text |
Step 6: Export for the Real Destination
Keep one clean master before adding platform-specific captions, audio, end cards, or offers. Create platform copies from that master instead of rebuilding the edit for every placement.
Before publishing:
- Keep the generated frame rate unless a delivery specification requires a change.
- Preserve the native aspect ratio; do not stretch or bake in black bars.
- Use a broadly compatible modern video container and codec supported by the destination.
- Watch the full exported file outside the editor.
- Keep captions and CTAs inside platform-safe areas.
- Compare the uploaded preview with the local master for crop, color, or compression changes.
- Archive the source, exact prompt, generation log, selected output, project, and final exports together.
Platform requirements can change, so check the current destination specification before a paid campaign or important launch.
Reusable Preflight Checklist
Source
- Product is sharp and large enough to inspect.
- Complete silhouette and repeated parts are visible.
- Background does not touch or confuse product edges.
- Lighting describes the material without clipped highlights.
- Usage and transformation rights are confirmed.
Composition and motion
- Source uses the target ratio with room for planned movement.
- Shot brief contains one camera move and one subtle action.
- Requested viewpoint is supported by visible source geometry.
Prompt and generation
- Camera speed, direction, and range are explicit.
- Preserve clause names the defining identity details.
- Lighting, duration, and ending are specified.
- A small baseline test and exact prompt are logged.
Review and delivery
- Shape, parts, material, color, and label position remain stable.
- Reflections, shadows, background, and camera move coherently.
- Exact text is supplied as a controlled graphic layer.
- Final ratio and export match the destination.
- The complete local file and uploaded preview have been reviewed.
Build a Repeatable Product Video System
Begin with one conservative shot in which the product remains identical from the first frame to the last. Once that baseline is stable, create a small shot family: a locked hero shot, a push-in detail shot, and a limited orbit. Reuse the same master source, preserve clauses, palette, and review checklist.
You can create the controlled first draft at VideoAny. Treat the generator as one part of production rather than the entire workflow: source quality, a narrow motion brief, disciplined tests, and frame-level review are what make the result commercially usable.
If the review reveals deformation, flicker, camera drift, or broken text, use the AI video artifact troubleshooting guide to choose between prompt revision, source repair, regeneration, and post-production.
FAQs
What type of product photo works best?
Use a high-resolution image with a complete silhouette, clear defining details, simple separation from the background, and enough room for the planned motion. Avoid ambiguous reflections and cropped edges.
How much should the camera move?
Use the smallest move that reveals the intended feature. Push-ins and small orbits are safer than large rotations that expose unseen geometry.
Should I describe the whole product in the prompt?
No. The image already supplies appearance. Describe the motion and list only the defining properties that must remain unchanged.
Why does the label change during animation?
Video models treat letters as visual shapes that may be redrawn frame by frame. Generate a stable surface and add approved text or labels as tracked graphics in editing.
How many variations should I generate?
Generate enough to test a specific hypothesis. Keep a baseline, change one variable, and stop when identity, motion, and communication pass the review—not when you have an arbitrary number of clips.