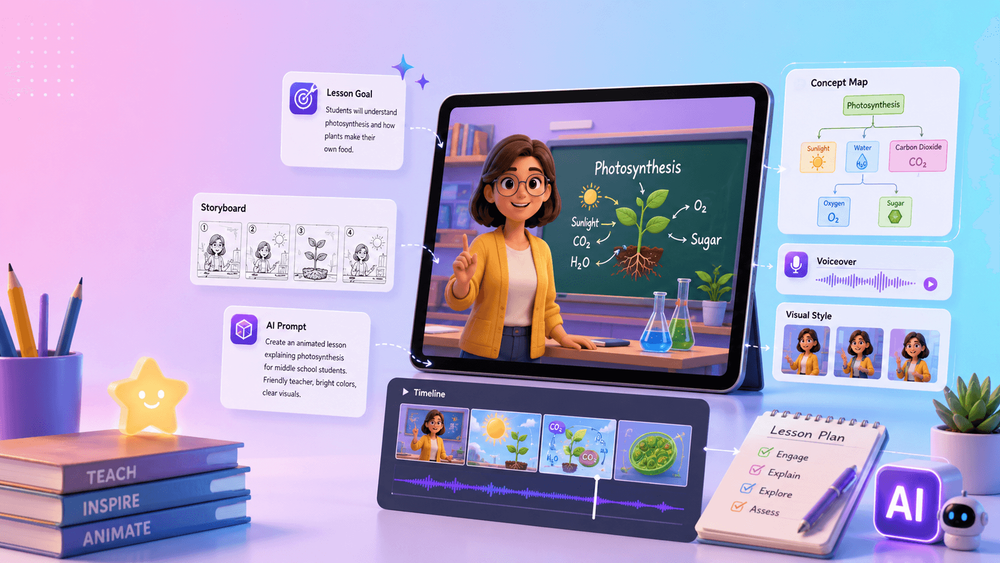
Animation can explain processes that are hard to show with static slides. A science teacher can visualize evaporation, a history teacher can move through a timeline, a language teacher can stage a short conversation, and a math teacher can reveal a solution one step at a time.
AI makes this kind of visual support more accessible to teachers who are not professional animators. A learning objective can become a short script; the script can become a storyboard; the storyboard can become several focused clips. The purpose is not to make every lesson flashy. It is to reduce confusion and help students see the idea more clearly.
Teachers remain responsible for accuracy, age appropriateness, privacy, inclusion, accessibility, and classroom fit. Treat every generated image and sentence as a draft that requires professional review. AI can assist the production process; it does not replace instructional judgment.
1. Start with One Measurable Learning Objective
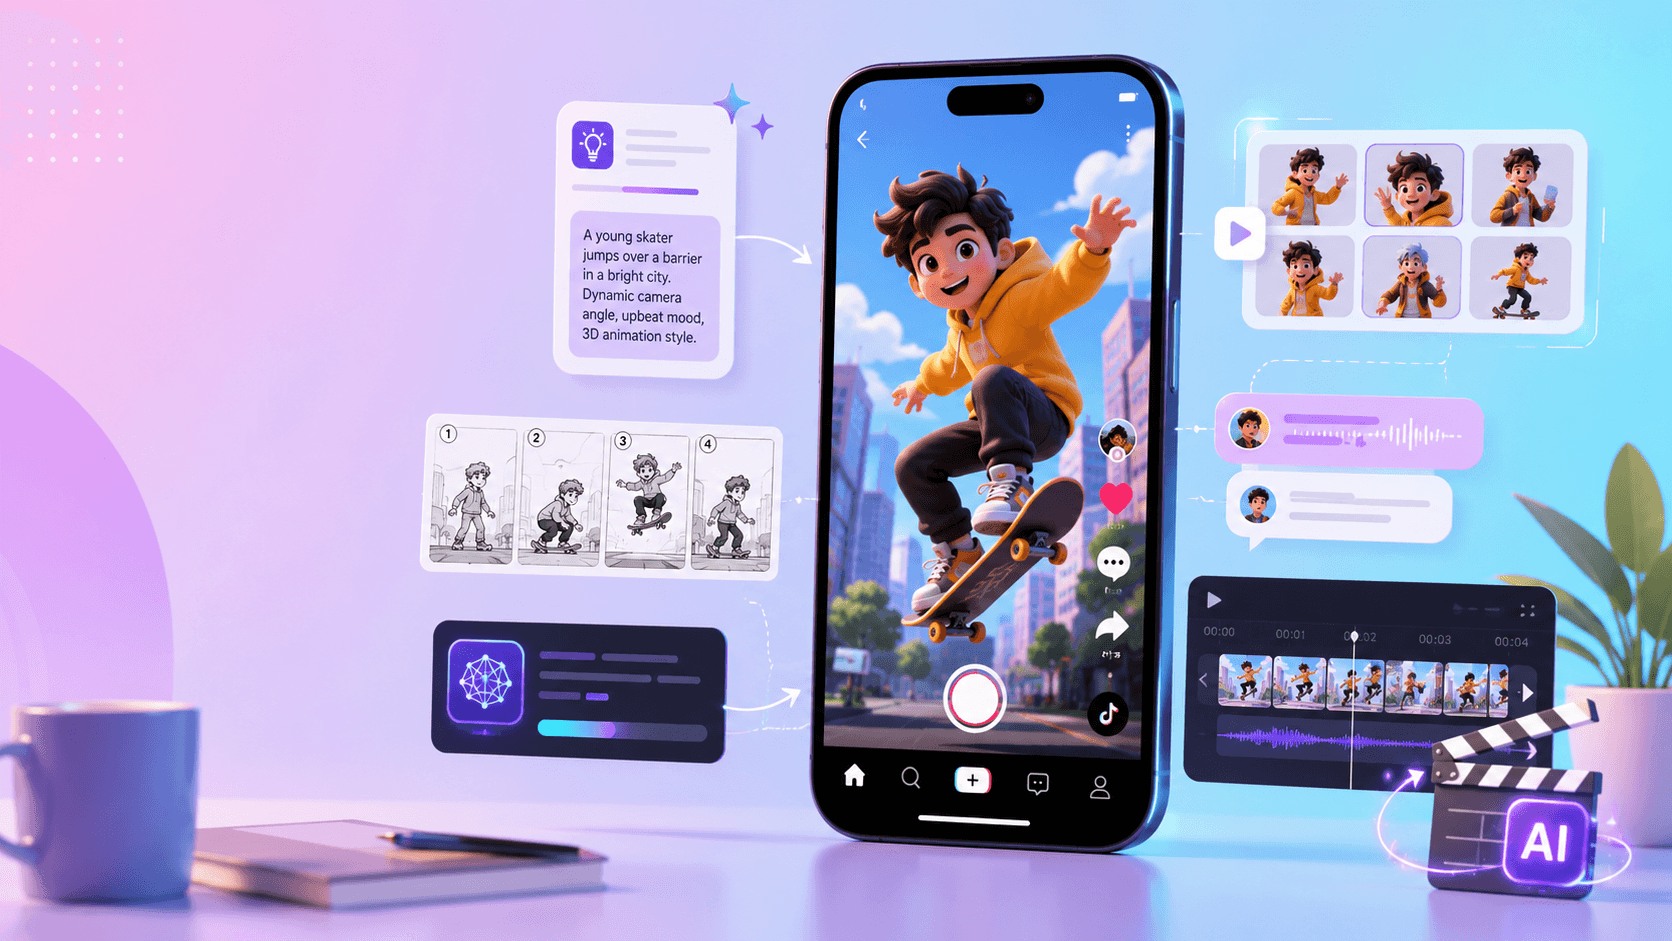
Do not start by choosing an animation style or tool. Start by defining what students should understand after watching.
A broad goal such as “teach photosynthesis” leaves too many possible visuals. A stronger objective names the relationship students need to grasp: “Students should understand that plants use sunlight, water, and carbon dioxide to produce glucose and oxygen.”
Use this sentence:
By the end of this animated lesson, students should understand [specific concept or relationship].
Examples include:
- why the moon appears to change shape during the month;
- how a character's motivation affects a story;
- how fractions represent parts of a whole;
- how evaporation, condensation, and precipitation connect in the water cycle.
This objective is the production anchor. Every scene, label, example, and character action must help students reach it. If a beautiful shot does not serve the objective, remove it.
2. Turn the Concept into a Simple Learning Story
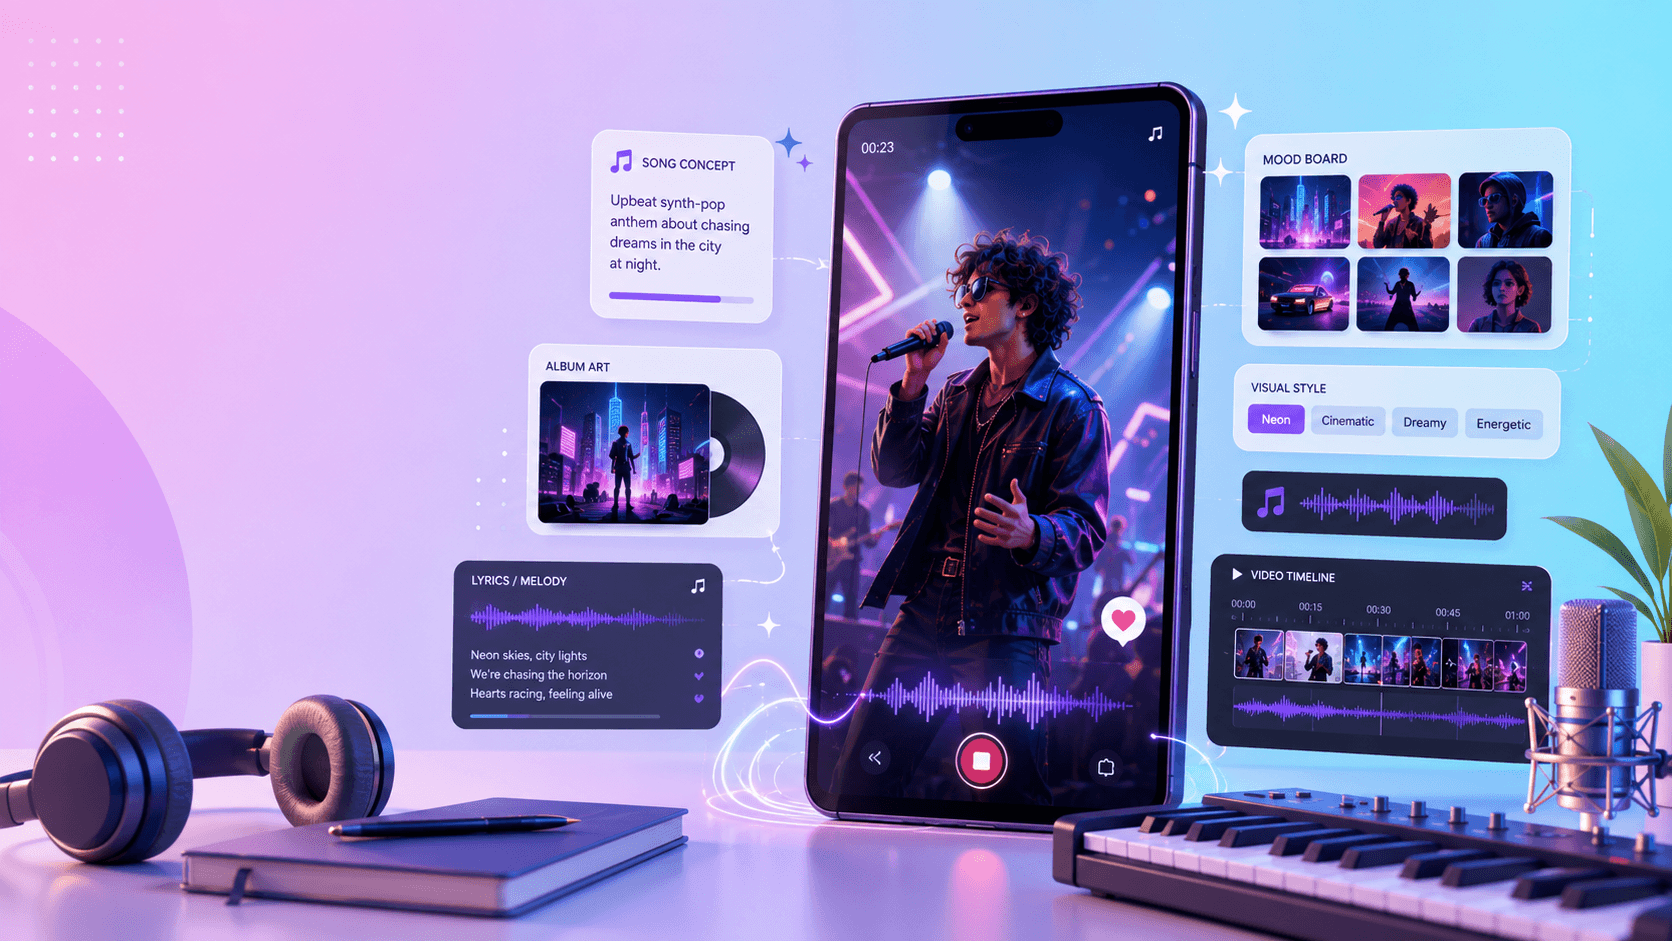
Students often remember a sequence more easily than isolated facts. An educational animation does not need an elaborate plot, but it benefits from a clear progression:
- Ask a question or present a familiar problem.
- Show a concrete example.
- Explain the key process or relationship.
- Surface a common mistake or misconception.
- Correct it visually.
- Restate the takeaway.
A water-cycle clip might open with “Where does rain come from?” Water rises from a lake, forms clouds, falls as rain, and returns through rivers. A fraction lesson can divide a pizza or a group of objects. A grammar lesson can let two characters improve a sentence. A history lesson can move along a timeline while causes and consequences appear in sequence.
Keep the scope small. A 30- to 90-second animation can explain one concept well; attempting to animate a complete chapter usually creates cognitive and visual clutter. Several reusable micro-lessons are often more useful than one long video.
3. Match the Animation Format to the Subject
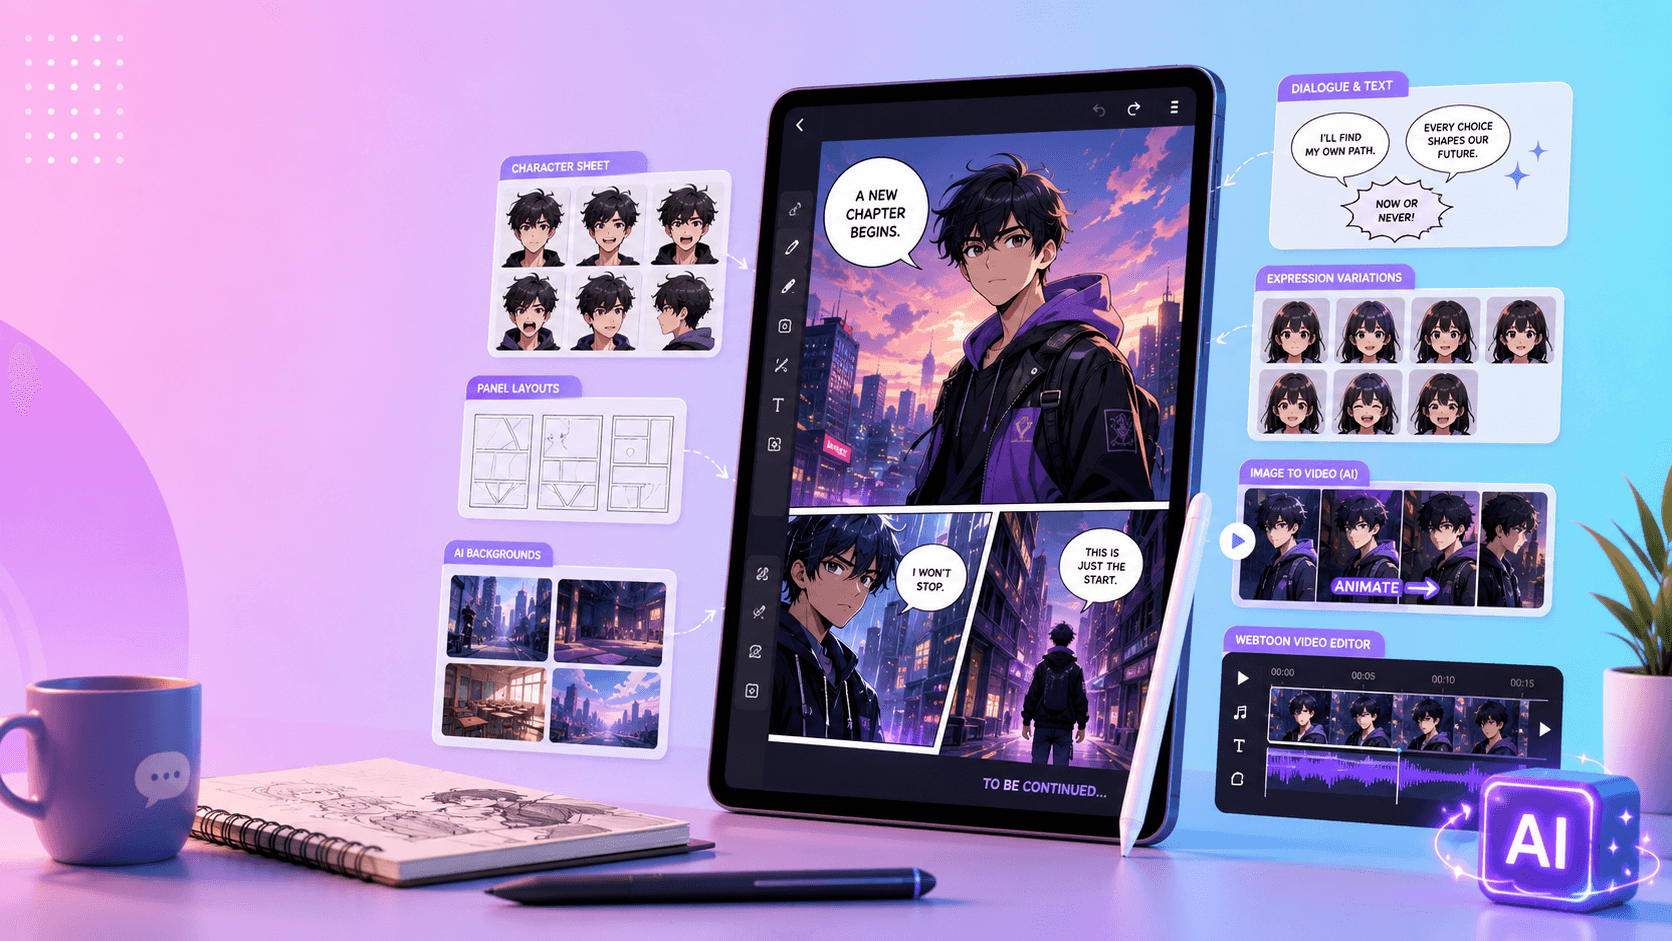
Different subjects benefit from different visual structures:
Science: processes and diagrams
Show change over time: cells dividing, planets orbiting, heat moving, plants growing, matter changing state, or energy transferring. Use clear arrows, stable labels, and accurate sequencing. Decorative effects should never be confused with the actual mechanism.
Math: step-by-step construction
Reveal number lines, fraction blocks, shapes, graphs, and word problems in the order students should reason through them. Hold each step long enough to process, and visually distinguish the operation from the result.
Language learning: dialogue and context
Two characters can demonstrate greetings, questions, pronunciation patterns, vocabulary, or sentence structures. Keep the situation recognizable and the speech short enough for learners to repeat.
History: timelines, maps, and comparison
Use movement across dates and locations to make sequence visible. If the goal is cause and effect, avoid overproducing speculative historical scenes. A controlled timeline or map can communicate more accurately than a cinematic reenactment.
Literature: motivation, conflict, setting, and mood
A compact scene can help students discuss perspective, theme, or a character's choice. Present it as an interpretation and connect the visual back to the text or evidence being studied.
Choose the format that reduces the concept's main difficulty. VideoAny can be used as the visual-generation layer for short scenes, while the teacher supplies the learning objective, explanation, and review.
4. Write a Short, Age-Appropriate Script
A script should use one idea per line so each sentence suggests one visual. For younger students, prefer concrete language and familiar examples. For older students, connect the same visuals to precise academic vocabulary.
Here is a compact water-cycle script:
Have you ever wondered where rain comes from?
The sun warms water in rivers, lakes, and oceans.
Some water becomes vapor and rises. This is evaporation.
The vapor cools, and tiny drops form clouds. This is condensation.
When the drops become heavy, they fall as precipitation.
Water returns to rivers, lakes, and oceans, and the cycle begins again.
Read the script aloud. Remove unnecessary adjectives, split long sentences, define required vocabulary, and check that the words match the intended grade level. Then write the visual next to each line. If a line has no clear teaching visual, it may belong in discussion rather than in the animation.
5. Storyboard Every Teaching Beat
A storyboard prevents a generated video from becoming a sequence of attractive but unrelated shots. Each frame or clip should have one instructional purpose.
For the water-cycle example:
| Shot | Visual | Teaching purpose |
|---|---|---|
| 1 | question over a lake and sky | activate curiosity |
| 2 | sunlight warming the surface | establish the energy source |
| 3 | small vapor particles rising | show evaporation |
| 4 | droplets gathering into clouds | show condensation |
| 5 | rain falling | show precipitation |
| 6 | water flowing back to rivers | complete the return path |
| 7 | simple loop of the full process | consolidate the cycle |
Educational clarity matters more than cinematic complexity. A stable camera is often easier to understand than a fast move. Labels can reinforce vocabulary, but too much on-screen text competes with narration and imagery. Decide in the storyboard where a label appears and how long it remains visible.
6. Write Prompts That Prioritize Accuracy
An educational animation prompt should name the concept, audience, visual process, style, motion, camera behavior, and accuracy boundaries.
Use this template:
Create a short animated lesson clip for [grade or age group] explaining [concept]. Show [specific visual process]. Style: clean educational animation with simple shapes, friendly colors, and only essential labels. Motion: [movement]. Camera: stable and easy to follow. Keep the [science/math/history/language] concept accurate. Avoid visual clutter, misleading details, fantasy effects, and unrelated decoration.
For example:
Create a 10-second animated lesson clip for middle school students explaining evaporation. Show sunlight warming a lake while small water-vapor particles rise into the air. Use clean educational shapes and one label: “evaporation.” Keep the camera stable and the sequence scientifically clear. Do not add boiling, magic effects, or unrelated weather events.
Generate one concept at a time through VideoAny, then assemble approved clips in the storyboard order. Smaller units make it easier to reject an inaccurate scene without rebuilding the entire lesson.
7. Use Recurring Characters as Guides, Not Distractions
An animated teacher, student, robot, or animal can ask the opening question, demonstrate a common mistake, or guide students through a process. The character should focus attention, not compete with the concept.
A small robot might ask why the moon looks different tonight, then step aside while a diagram explains the phases. A cartoon student might make an incorrect fraction comparison, giving the lesson a reason to show the correction.
If the character recurs across lessons, create a simple character bible and include it in every relevant prompt:
Use the same friendly robot teacher in every clip. Preserve its round white body, blue eyes, small antenna, orange scarf, size, colors, face, and simple 3D cartoon style. Do not redesign the character or change its proportions.
Consistency can turn separate micro-lessons into a recognizable series. It also reduces the time students need to understand who the guide is and what role it plays.
8. Add Captions, Labels, and Accessible Alternatives
Educational videos should remain understandable without sound. Captions support review, help students who process information visually, and make a clip useful in environments where audio is unavailable.
Use one short idea per caption. Avoid paragraphs. Keep key text away from visual details and platform overlays. Labels such as “evaporation,” “condensation,” and “precipitation” should appear next to the correct part of the process and stay on screen long enough to read.
Accessibility is broader than captions. Check contrast, font size, flashing or rapid motion, color-only distinctions, narration pace, and whether the same information is available in another format. Provide the script or a text explanation when appropriate. Follow the accessibility policies and accommodations required by your school and learners.
9. Follow a Classroom-Safe AI Workflow
Teachers should review generated material with the same care as any instructional resource, plus extra checks for AI-specific errors.
- Define the learning objective.
- Write and fact-check the script.
- Create the storyboard.
- Generate short, isolated clips.
- Check every visual, label, and sequence for accuracy.
- Add and proofread captions.
- Review age appropriateness, representation, and accessibility.
- Confirm compliance with school, district, and platform policies.
- Keep personal student information out of prompts and uploads.
- Use the video as support for instruction, not as a replacement for the teacher.
Do not upload student faces, voices, names, work, or other identifying data unless the relevant policy and consent process explicitly allow it. Use fictional examples or teacher-created references whenever possible. If a generated visual contains a scientific, historical, linguistic, or mathematical error, correct or discard it before class.
10. Build a Reusable Library One Concept at a Time
The most practical starting point is one short clip for one learning need:
- evaporation in the water cycle;
- a visual model of equivalent fractions;
- conflict and motivation in a story;
- cause and effect in a historical event;
- a greeting or question pattern in a language lesson.
Organize each approved clip with its objective, grade level, subject, script, source references, captions, date reviewed, and any usage notes. Over time, this creates a searchable library of visual explanations. Teachers can reuse a process diagram during review, assign it before class, or pause it during discussion.
Final Thoughts
Strong animated lessons begin with teaching, not technology. Define a specific objective, reduce it to a short sequence, choose the right visual format, and review every generated element for accuracy and safety.
Start small: one concept, one short script, one storyboard, and one carefully reviewed clip. When animation makes the relationship easier to see, it becomes a practical part of instruction rather than decoration.
For help comparing the available production approaches, review these AI animation tools for educational videos.
FAQs
How long should an AI-animated lesson be?
A 30- to 90-second clip is a useful scope for one focused concept. More complex topics can become a series of short clips with discussion or practice between them.
Can teachers use AI animation for every subject?
Yes, when the medium fits the learning difficulty. Science often benefits from process diagrams, math from stepwise construction, languages from dialogue, history from maps and timelines, and literature from compact scenes that support textual analysis.
How can I verify an AI-generated educational video?
Compare every claim, label, sequence, and visual relationship with trusted curriculum materials. Have a subject specialist review unfamiliar content, and test whether students are likely to infer anything inaccurate from the imagery.
Should students appear in the prompts or source images?
Avoid personal student data by default. Follow school or district privacy rules, approved-tool policies, and required consent procedures. Fictional characters and teacher-created examples are safer starting points.
What if the animation is engaging but inaccurate?
Do not use it as instructional material. Revise the prompt, regenerate only the affected scene, or replace it with a simpler diagram that communicates the concept correctly.