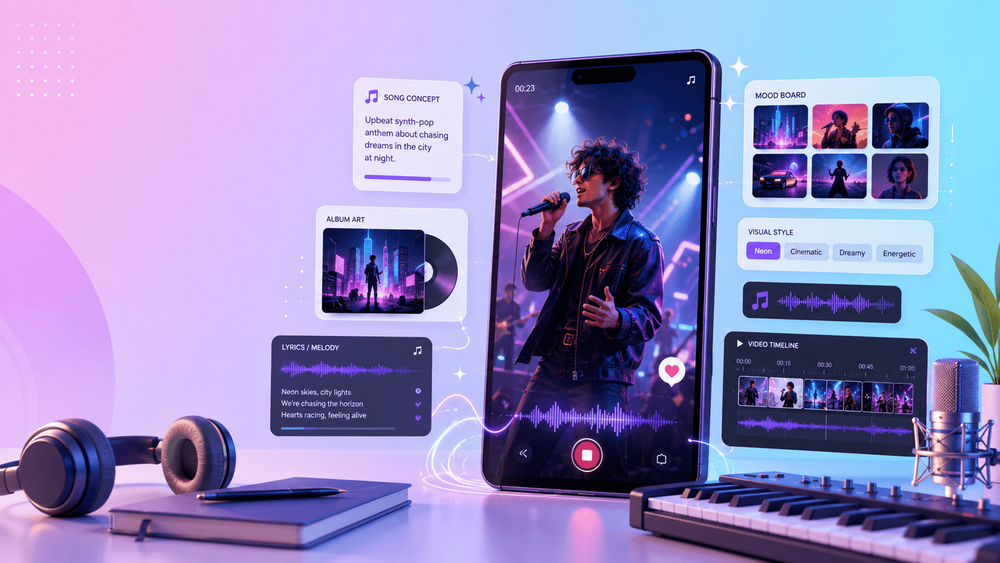
Independent musicians no longer need a large production team to build a visual world around a song. AI video can help create narrative scenes, lyric-driven animation, abstract visualizers, stylized performances, animated album art, and short promotional cuts.
The tool is not the creative direction. A memorable music video still depends on taste, rhythm, structure, and identity. The visuals need to support the song's emotion, tempo, lyrics, and sonic world—not compete with them.
The most reliable workflow starts with the track, breaks it into sections, builds a visual system, generates short controlled clips, and completes the story in the edit. Work section by section, shot by shot, and beat by beat rather than asking one prompt to create an entire video.
1. Define the Song's Emotional Core
Before choosing a style, describe what the song feels like and why. Is it lonely, euphoric, angry, nostalgic, dreamy, romantic, rebellious, peaceful, or chaotic?
Complete this sentence:
This music video should feel [emotion] because the song is about [theme].
For example:
- nostalgic and dreamlike because the song remembers a childhood home;
- energetic and futuristic because the song is about escaping routine;
- lonely and cinematic because the song follows a message that is never answered.
This sentence becomes the creative anchor. Every color, location, character, camera move, and effect should reinforce it. A generated clip may look impressive and still be wrong for the song. If it pulls the mood in a different direction, save it for another project.
Add a few practical constraints below the anchor: the artist's existing visual identity, the world suggested by the album art, recurring colors, forbidden imagery, and how realistic or stylized the video should feel. These rules create a coherent visual vocabulary before generation begins.
2. Map the Track Before Making Clips
Do not generate random scenes and hope they fit. Mark the intro, verses, pre-choruses, choruses, bridge, final chorus, and outro on a timeline. Record the exact timecodes for major drum entries, lyric changes, pauses, drops, and transitions.
Give each section a visual role:
| Song section | Visual role |
|---|---|
| Intro | establish the world and visual rules |
| Verse | develop character, detail, or story |
| Pre-chorus | increase tension or anticipation |
| Chorus | deliver the strongest motif and energy |
| Bridge | introduce contrast, absence, or a new viewpoint |
| Final chorus | intensify and combine the main ideas |
| Outro | resolve the image or leave a deliberate question |
For a song about a lost astronaut, the intro might reveal an empty ship corridor; the verse follows the astronaut alone; the pre-chorus introduces a distant signal; the chorus turns the stars into colorful memories; the bridge frames Earth through a cracked window; the final chorus fills the ship with light; and the outro leaves a helmet floating in silence.
That outline is already a visual story. It also shows which sections need new scenes and where a motif can return in a more powerful form.
3. Choose the Right Music Video Format
Different songs call for different production formats:
Visualizer
Abstract motion, shape, color, particles, texture, or environments respond to the music. This works especially well for electronic, ambient, lo-fi, and instrumental tracks. The design can loop or evolve without telling a literal story.
Narrative video
A character or sequence of events follows the lyrics, theme, or emotional arc. This suits songs with a strong journey, conflict, memory, or transformation. Continuity becomes the main production challenge.
Performance-style video
A singer, band, virtual artist, anime performer, or recurring character appears to perform. This can create a strong artist connection, but identity, hands, instruments, body movement, and lip sync require careful testing.
Lyric video
Readable words sit within animated backgrounds or a simple visual story. This can be more achievable than performance animation and is effective when language is central to the track. Add typography during editing so the lyrics remain accurate and controllable.
Short-form music promo
A 10- to 30-second cut focuses on the most memorable lyric, hook, drop, or chorus moment for TikTok, Reels, and Shorts. It can act as a prototype: if the visual system works in the short promo, expand it into the full video.
A video may combine formats, but choose one as the foundation. A narrative piece can use an abstract bridge; a visualizer can include a few performance close-ups. The combination should follow the song's structure rather than becoming a catalog of effects.
4. Use Album Art as the Visual Anchor
Cover art already carries the song's identity. It contains an approved palette, subject, composition, texture, and emotional promise. Animate it subtly, then expand the world around it.
A city skyline can lead into a moving night street. A cover character can become a restrained performance scene. A flower can open into an abstract blooming visualizer. A spaceship can establish a science-fiction narrative.
Use an image-to-video prompt such as:
Animate this album cover into a cinematic music-video scene. Preserve the original palette, composition, main subject, illustration style, and emotional mood. Add subtle motion that matches [tempo and energy]. Keep the subject and visual identity unchanged. Do not add random text or redesign the artwork.
If the cover contains official typography, it is often safer to animate a clean art layer and reapply the title in editing. Generated text can drift, while a finishing application lets you preserve the exact release design.
5. Build a Shot List Around Musical Moments
Once the structure is mapped, translate each important beat into a shot. Keep clips short and give every shot a clear job.
For a 45-second chorus promotion:
- Close-up of glowing headphones on a table.
- Camera moving through a neon hallway.
- Performer silhouette appearing against bright lights.
- Abstract waveforms pulsing with the beat.
- The key chorus line appearing as light trails in the final edit.
- Wide view of the city reacting to the music.
Record duration, framing, motion, visual reference, section, and transition idea for each shot. Generate clips independently through VideoAny, then choose only the strongest moments. Short prompts and isolated shots are easier to control than one request containing an entire narrative.
Use recurring visual motifs to create unity. A signal light introduced in the verse might become a field of stars in the chorus and finally illuminate the outro. Repetition with variation makes separate generated clips feel intentionally connected.
6. Use a Music-Aware Prompt Template
Connect the visual instruction to the specific part of the track:
Create a [duration] music-video clip for the [song section]. Mood: [emotion]. Visual concept: [scene]. Motion should match [tempo or energy]. Camera: [movement and framing]. Style: [visual style]. Preserve [artist, character, album-art, or world details]. Avoid [identity drift, anatomy problems, text, style changes, or other failure modes].
For example:
Create a six-second clip for the chorus. The mood is euphoric and futuristic. A lone anime singer stands on a rooftop while neon sound waves rise into the sky. Motion should match a fast electronic beat. The camera slowly circles from a medium shot to a close-up. Use cinematic anime with blue and pink neon light. Preserve the singer's face, silver hair, black jacket, and cel-shaded style. Avoid face drift, random text, distorted hands, and style changes.
The prompt does not need to describe the full song. Its job is to produce one usable piece for one musical moment while protecting continuity.
7. Use Lip Sync Selectively
Singing lip sync is difficult because mouth movement, expression, timing, head motion, and identity must all work together. A weak performance close-up can reduce the perceived quality of an otherwise strong video.
Limit lip sync to one or two moments where it adds the most value, such as the chorus or a decisive lyric. Use other shots for atmosphere, narrative, symbolism, album-art motion, and instrumental energy.
A controlled structure might use story and environment during the verse, one performer close-up in the chorus, abstract or slow-motion imagery in the bridge, and performance intercut with cinematic scenes in the final chorus.
Test the hardest close-up early. If identity or timing remains unreliable, redesign the shot: use a profile, silhouette, obscured mouth, wider framing, performance gesture, or cutaway timed to the vocal. An intentional alternative is better than a visibly broken lip sync.
8. Let the Edit Turn Clips into a Music Video
Generation creates raw shots; editing creates rhythm and meaning. Do not keep every clip at its original duration. Select the strongest section, trim it to the musical event, and allow motion to continue across cuts when useful.
Review the edit for:
- tempo and shot length;
- section changes and chorus entrances;
- lyric emphasis;
- visual repetition and motifs;
- contrast between dense and quiet moments;
- build-up and release;
- the final image that remains after the song ends.
Fast songs often benefit from shorter shots, but a constant rapid cut can flatten the energy. Slow songs can hold longer, yet still need purposeful change. Let the chorus become brighter, wider, faster, or more dynamic if that matches the arrangement. Use the bridge to create a real contrast so the final chorus can feel larger.
Add lyrics, titles, credits, and logos during finishing. Check spelling against the approved lyric sheet, keep text readable, and time each line to the performance. Mix any added sound effects carefully so they do not compete with the track.
9. Review Rights, References, and Disclosure
Use music you own, have licensed, or otherwise have permission to use. The same principle applies to album art, photos, footage, characters, fonts, and source images. Keep records of the source and permission status of every reference that enters the workflow.
Do not imitate a living artist's identity, copy a protected character, or present another creator's style or performance as your own. Build the musician's visual world from original concepts and authorized material.
Platforms and distributors may have rules about synthetic or AI-generated media. Review the current requirements for every destination and disclose the production method where required. Rights and disclosure decisions depend on the material, agreement, and jurisdiction, so obtain professional guidance when a release has significant commercial or contractual risk.
10. A Practical End-to-End Workflow
- Listen to the final or near-final track and define its emotional core.
- Mark song sections and important timecodes.
- Choose one primary video format.
- Set the visual rules using album art, a mood board, or original references.
- Give each section a visual role.
- Write a shot list with short, controllable clips.
- Generate the chorus or hook first as a proof of concept.
- Test identity, motion, and lip sync before expanding.
- Generate the remaining shots section by section.
- Edit to beats, lyrics, transitions, and emotional shifts.
- Add approved typography, lyrics, credits, and final audio.
- Complete rights, quality, and disclosure reviews for each platform.
Starting with the chorus is practical because it usually contains the song's most recognizable energy. If the visual system cannot support that moment, adjust it before producing a full track's worth of footage.
Final Thoughts
AI video can give independent musicians a new way to build visual identity around a song. The strongest results do not come from generating the most clips. They come from understanding the music, assigning every section a visual purpose, preserving the artist's world, and using the edit to connect image and sound.
Start with one emotional sentence and one strong chorus visual. Once that combination feels true to the track, build outward—section by section, shot by shot, beat by beat.
To turn individual frames into controlled shots, adapt the templates in this image-to-video prompt guide.
FAQs
What is the easiest AI music video format to start with?
A short visualizer, animated album cover, or lyric-video background is usually easier to control than a narrative or full performance. Begin with the chorus or hook and expand only after the visual identity works.
Should I generate a full music video in one prompt?
No. Divide the track into sections and create short shots for specific musical moments. This makes continuity, selection, and rhythmic editing far more manageable.
How can I keep the performer or character consistent?
Use approved reference images, record fixed facial and wardrobe details, repeat the same style constraints, and test the character across several framings. Reject identity drift early rather than trying to hide it in the final edit.
Do I need lip sync?
Not necessarily. One convincing chorus close-up may be enough. Narrative shots, silhouettes, instrumental performance, abstract motion, and lyric typography can carry the rest of the video.
What should I check before publishing?
Confirm music and visual permissions, lyric accuracy, credits, platform specifications, disclosure requirements, identity consistency, and whether any generated scene unintentionally resembles protected or unauthorized material.